Project Settings and Export
Project Settings
Let's talk about project settings.
Go to Project → Project Settings
-cc567e57dc0ad67f2ffbe6a99d569b0c.png)
In the General tab, under Configs, you can change the project name, description, icons, and more.
-ec77f3e2cea68c055921a96befabc956.png)
Under Display → Window, you can change the screen size, mode, and other display options.
-f14494a4f0ddd2fdb6da47fe8d061381.png)
Change the mode to Fullscreen so it looks better after export, then close the window.
-c372c63bc1788fb537e464f5e7e5f807.png)
Export
Now it’s time to export your game.
But when you export for the first time, you need an additional component called Export Templates.
So first, we need to download those templates.
Go to Editor → Manage Export Templates.
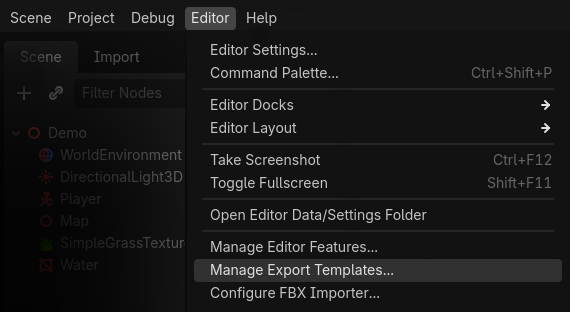
You will see a message saying:
“Export templates are missing. Download them or install from a file.”
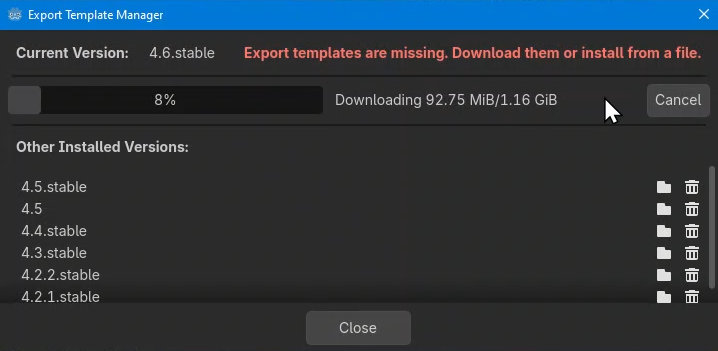
Click Download and Install. This is the easiest option because it automatically downloads the correct version.
You will need an active internet connection for this. Also, the templates are nearly 1 GB in size, so it may take some time to download. After the installation is finished, you can close the window.
You only need to do this one time. You don’t need to repeat it for every project.
Now we are ready to export our project.
Go to Project → Export
-a11f18d5de4b48aae974fb5517389243.png)
First, add an Export Preset. I chose Windows Desktop.
-c7eb625b268487cee2db253887b641c5.png)
Tick Embed PCK and then Export Project.
-46c5e2a21af9d00d8332ac71ff5dad66.png)
It will ask where to save. I made a builds folder and kept the name the same.
Remove the tick from Export with Debug, then click Save.
-70fb7e6364c87c80b46d0246c8a40897.png)
Now you have your game as an .exe file.
Give it to your friends to try. That’s it for this tutorial...
-26bc66bc1a70f98af60d99418db6223a.png)
Oh, and I have something to tell you… we’ll cover it in the next tutorial.
For now, congratulations & enjoy your game 🎉